Create, Customize, & Integrate Photo Uploads Section For Your Website
First you will want to configure your Photo Uploads App, under the Configure Site > Social Networking > Photo Uploads page.

This will take you to the Photo Uploads Config page:
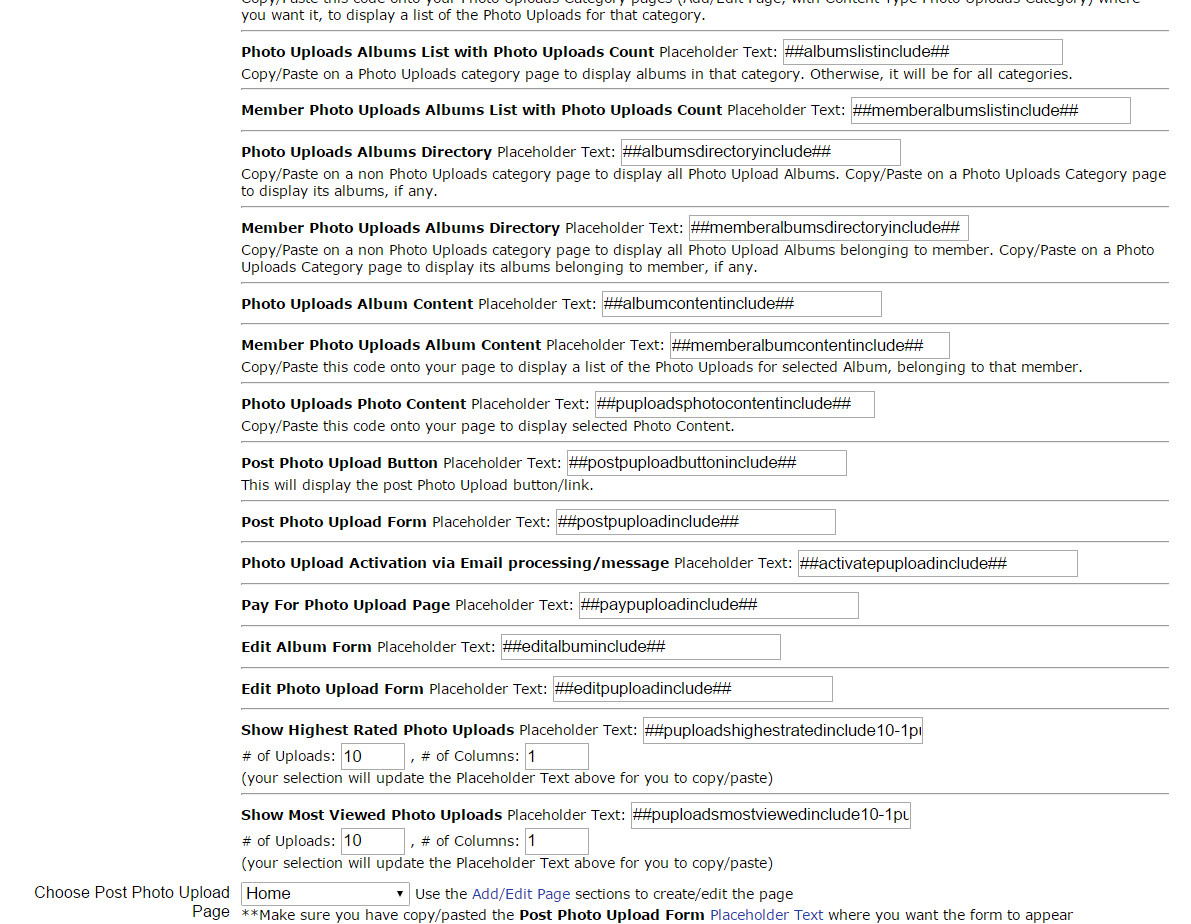
Here you will find the appropriate Placeholder Texts and the configuration settings, including the photo uploads approval process, how to display the photo uploads, how much (if any) to charge for adding photos/special features, etc.
You can also choose to allow members/visitors to edit their photo uploads info, and the approval process for the edits, on this Photo Uploads configurations page too. 1) Copy/paste the Placeholder Text for the Photo Uploads Edit Form on your webpage (Add/Edit Page), and then 2) Select that webpage in the Edit Photo Uploads Page menu (Photo Uploads Config page).
Organizing Photo Uploads: You can choose to use categories/types on the Photo Uploads configurations page. Or you can choose your user photo uploads to just be organized into albums, or none of the above.
To create Photo Upload Categories, go to Pages > Add/Edit Page, and just choose the Content Type "Photo Uploads Category"!
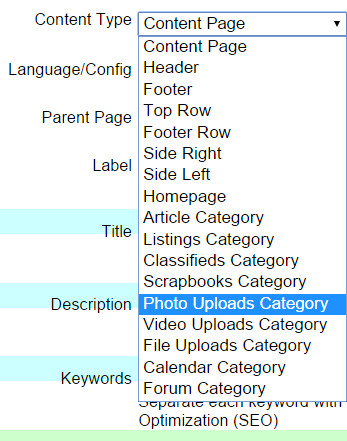
On this page, after choosing the "Photo Uploads Category" type, this will open up the Photo Uploads Options Section. Checkmark the box to allow posts (towards bottom of this Add/Edit Page) if you want to allow postings to this category, rather than just use it as a parent photo uploads category, for example.
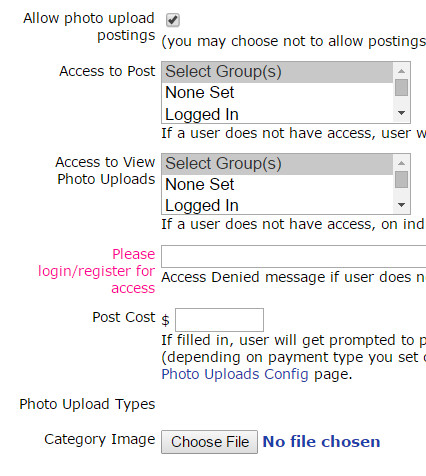
Here you can choose a Category image, post cost (if any), photo upload types, and who can view/post photo uploads.
To Create Photo Upload Types, click on the Photo Upload Types button on the Admin Panel > Configure Site > Social Networking > Photo Uploads page:
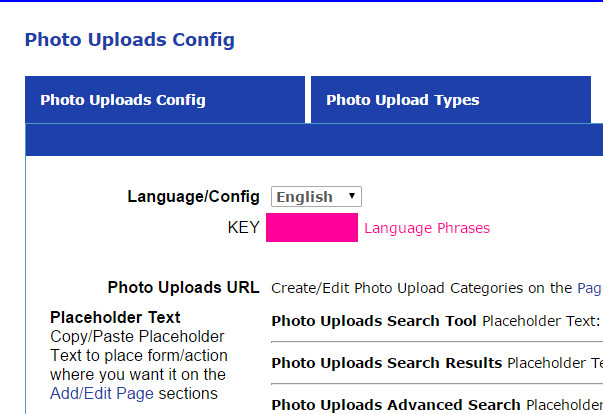
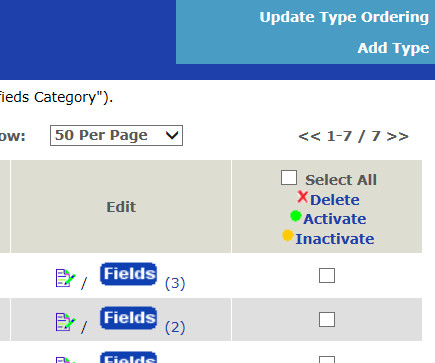
This lists all the Photo Upload Types.

Click on the "Add Type" tab there on the right side, to go the the Add Type page. Click on the "Fields" button in a Type row here to go to the Type List Fields page, and to add fields to the photo type.
On the Photo Uploads Type page you can configure which feature options to enable for this type, such as a Buy Button.

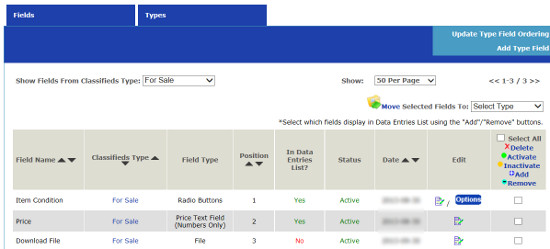
On the Photo Uploads Type List Fields page you get the list of fields, and you can click on the "Add Type Field" tab on the right side to add more fields for a photo upload type, and click on the "Options" button in any field to add/edit options for that field if it is a selectable field (rather than a text input field).
To Manage Photo Uploads (postings), go to Members > Member Photo Uploads.
Configure Website (1)
SEO Tool & Tips (1)
Stylize Website (1)
Responsive App (2)
Content Management (9)
Photos App (5)
Mosaic Grid App (1)
Password Protect, Members Restrict Acess (1)
Members & Social Networking App (17)
Social Login & Meta Tags (5)
Comments & Ratings App (5)
Page/Upload Likes & Unlikes App (1)
Page/Upload Shares App (1)
Timeline App (1)
Mailing List App (5)
Contact Form App (1)
E-Commerce App (10)
HTML Ad(d)s App (1)
Ad(d)s App (1)
Docs App (1)
Feeds App (1)
Backup Database Tool (1)
Custom Coding (1)
Sitemap Generator Tool (1)
RSS Feed Generator Tool (2)
Custom Internet Browser Favicon (1)
Admins & Moderators Management (1)
Multi-Language Website, Multiple Configurations (3)
Articles App (1)
Forms & Surveys Builder (1)
Polls App (1)
Calendar Events App (2)
Credits App (1)
Rewards App (1)
Listings Directory App (5)
Classifieds App (1)
Message Boards (Forum) App (1)
Scrapbooks App (1)
Photo Uploads App (2)
Video Uploads App (1)
Audio Uploads App (1)
File Uploads App (1)
Site Maintenance Redirect App (1)
Web Hosting Control Panel (11)


 Report a concern
 Add Comment